View Employees
The Employees screen allows you to define those employees whose time you want to track in the software. At least, one employee must be defined to make use of the Timecards function. On this screen, you can add and edit information about your employees.
When you are adding employees, keep in mind that the number of employees allowed on your system by your license is equal to the number of employees plus admin/managers you add here.
Add Employee
Edit Employee
Delete Employee
View Selected Employees' Timecard
Employee Status
User Status
Mass Update
Geofence
View This List As
Bulk Invitation
Viewing Licenses Information
Note - Refer to permissions to view all the permissions related to the employee.
Click Employees.
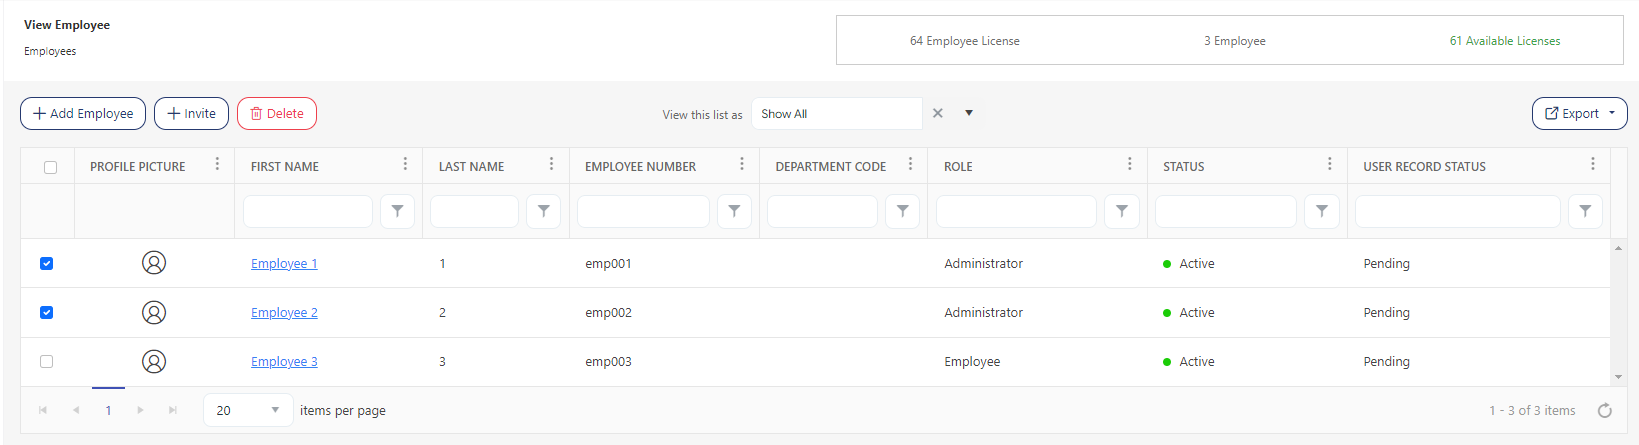
The View Employee screen displays the employee list.
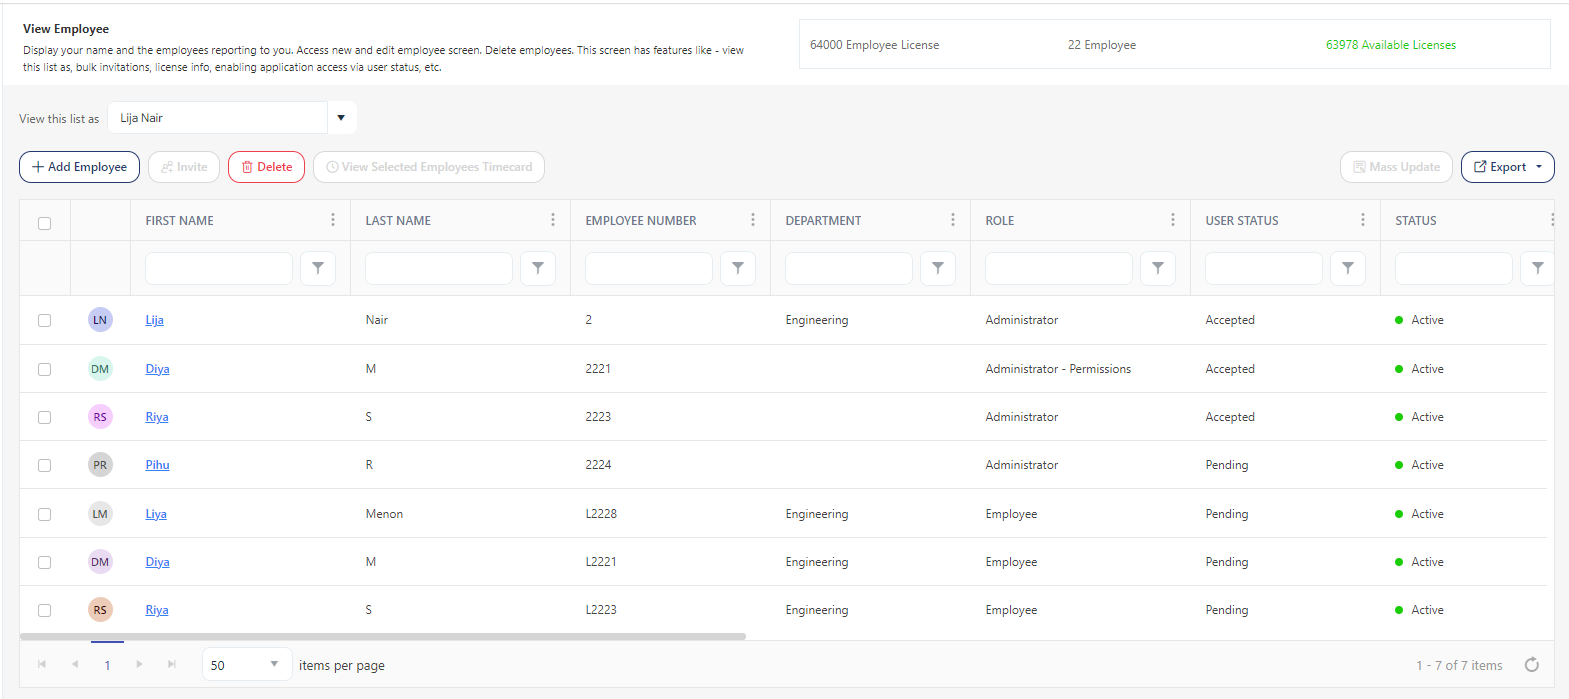
The View Employee screen also provides a provision to add, edit, or delete an employee.
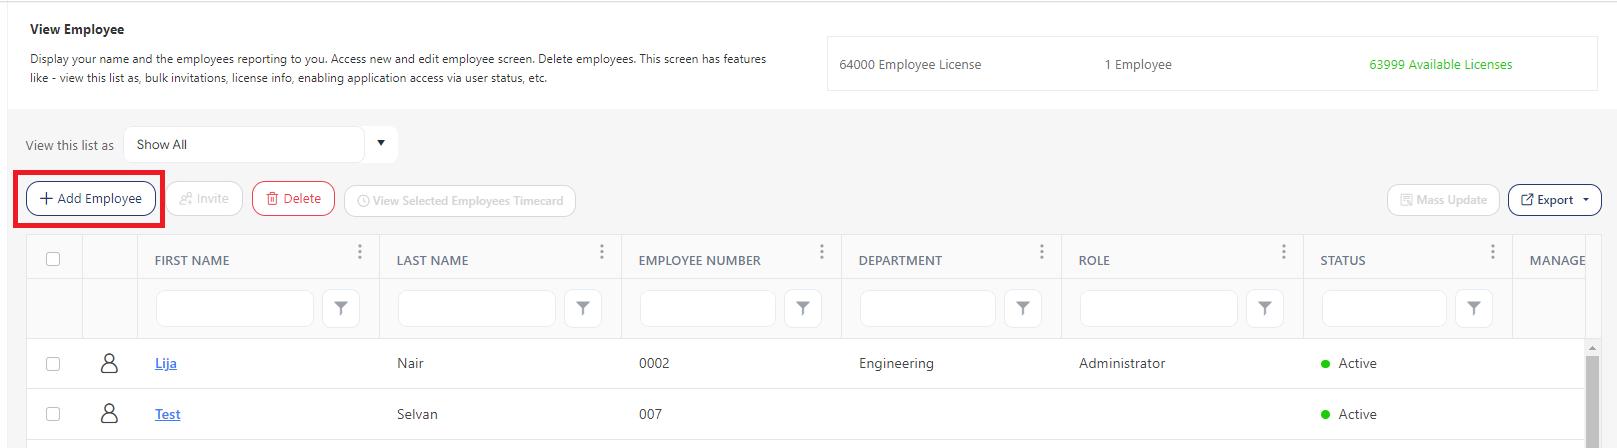
- Add Employee - The Add Employee button on the View Employee screen allows you to add a new employee. To add a new employee, click New. Refer to Add Employee topic.
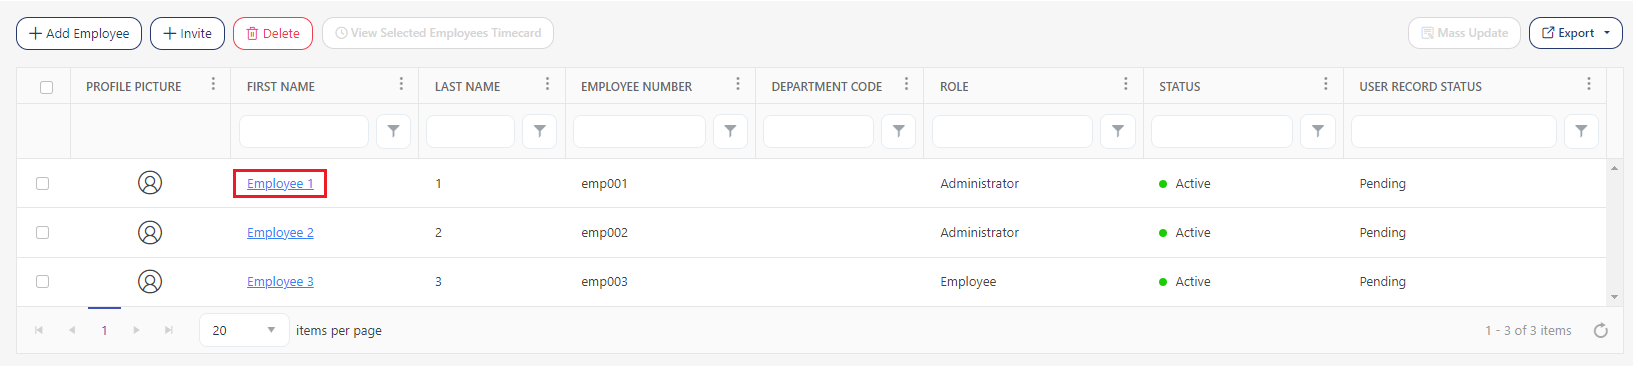
- Edit - To edit an employee's information, click on the Employee's first name. The first name is a link that will navigate to the View/Edit Employee screen. Refer to the Edit Employee topic for more details.
- Delete - The Delete button allows you to delete one or multiple employees. To delete an employee (or employees):
- Select an employee by checking on the checkbox.
- Click Delete.
- On the confirmation message, click on the Delete button again. To cancel the deletion, click Cancel.

- A message appears on deletion.
Note: The following employee (or employees) cannot be deleted - who are in use as a manager, who “Has Application Access” checked (the check needs to be removed to delete an employee), in an unprocessed punch, has clock assignment, is on a schedule, etc. In these scenarios, you will get a message and an alert icon next to an employee showing that the employee is in use and cannot be deleted.


- View Selected Employees Timecard - This feature allows you to view the timecards of the selected employees. By default, the button will be disabled.
To view the selected employees' timecards:
- Select the Employees by checking the checkboxes. Selecting the checkbox enables the View Selected Employees Timecard button.
- Click on the View Selected Employees Timecard button.

- The screen will navigate to the View & Approve Timecard - Detailed View screen.
- To view another employee's timecard, use the navigation arrow or dropdown menu at the top right.
Navigation Arrow

Dropdown menu

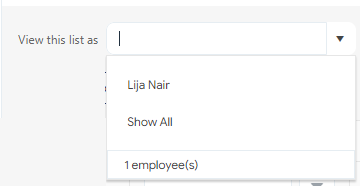
- View this list As - It is a feature on the View Employee screen. It allows you to view the subordinates of another manager within the same hierarchy. The dropdown will only list managers. If you want to see the subordinates of another manager, simply use the "View this list as" search field, which is linked to the "View Employee List From" field on the New/Edit Refer to the View this list as topic for more details.
- If the logged-in employee is a manager, then the "view this list as" will display the logged-in employee's name.
- If the logged-in employee is not a manager, then "show all" will be selected.
Note: The dropdown will list only managers. You can select "Show All" to view all the employees.
- Invite - Bulk Invitation is a feature on the Employee screen that allows a user to invite employees in bulk. The Invite button on the View Employee screen is to send invitations to many employees. Refer to the Bulk Invitation topic for more details. Another way to import bulk data is through the Import Data screen.
Note: Records shown on the Employee grid are subject to strict permissions and it is entirely possible to import records and not see them - without modifying the permissions or filters on the employee list. This scenario also applies if a manager is assigned to an employee and he/she is logged in. Note that usually employees can only be seen by their own management chain, subject to permissions and filters.
- Licenses - The View Employee screen displays the license details. It will display the total number of licenses, the number of employees, and the number of available licenses. Refer to the topic - How PreciseTime Enforces Employee Count License Restrictions?

- User Status - The Employee status includes Accepted, Pending, Not Invited, and Denied.
- Accepted are active employees who have accepted the invitation and have completed registration.
- Pending are employees who got the invitation but registration is pending.
Note that some fields will not be editable when the user status is in pending status.
- Not Invited are employees who have application access, i.e. Employee will access the application checkbox checked. This status is shown when the employee is added to the application through the Import data. They have application access and all the mandatory fields filled in to send an invitation.
- No Access appears if the employee does not have application access, i.e. Employee will access the application checkbox unchecked. These employees will have an "Enable Access" link to enable application access. The link will take you to the View/Edit Employee screen.

- Status - The Employee status includes Active, Inactive, and Leave. The user sets this status.
- The status "Active" appears when you create an employee. By default, the status will be active. Once you add an employee, it leads to a decrease in the license count by one.
- The status "Inactive" appears for employees who are not using the application. Note that making a user Inactive will increase the License count. The inactive employee can not log in to the application. Refer to Steps to Inactivate an Employee topic.
- The status "Leave" appears for the employees who are on leave. The status leave will not have any effect on the License count.

- Viewing all the Employees - An employee who has the Application Administrator attribute turned on can view all employees or an employee with a role that has the View All Employees permission can view all employees.
- Mass Update - The mass update feature enables you to make bulk changes to employee information. Initially, the Mass Update button is deactivated. To perform bulk updates to employee data, please follow the steps below.
- Select the employees. It will enable the Mass Update button.

- Click on the Mass Update button. The screen will navigate to the Mass Update Employees screen.
Note
- The screen will show the number/count of employees chosen for mass updating.
- You must check the checkboxes to enable the fields you wish to update in bulk.

- Check the checkboxes associated with the fields you want to modify. You can enter information directly or use the dropdown menus for updates.

- Click Save. A message appears to indicate that the mass update is successful.
- Has Unique Geofence - This column will not be visible by default on the View Employee screen. To display it, click on the three dots > columns. Yes indicates that the geofence feature is enabled and added to the employee address field.
Filter
Each column on the view screen has a sorting and a search option. You will see a search text box in each column where you can type and search. In some cases, the column will only have a sorting option. The search box in each column in an application provides users with a more precise and granular way of filtering data, making it easier to navigate and find the information they need. Enter the text/value that you want to search. You can also enter multiple search terms across different columns. The application will apply all search criteria to filter the data, showing the rows (on the top) that match all the selected criteria.
This approach enables you to filter data based on multiple criteria simultaneously, making it easier to find the specific information you are looking for.
- You can use the filter funnel icon to select - Starts with, Is equal to, Is not equal to, Contains, Does not contain, and Ends with.

- Filter/Sorting Applied - This feature is an indicator in the application to show you that sorting or a filter/set of filters has been applied to a list. This indicator can help users keep track of the filters that are currently in use and understand which items are being displayed because of those filters.

Export
Click on the Export button to download the list of employee list.
