Edit Clock
The edit clock screen allows you to edit the clock's general details, employee assignments, and to view/remove fingerprints.
To edit a clock, click on Clocks below Setup.

Click on the serial number.

The clock screen has two sections: Clock Details and Employee Assignments.
Clock Details
Edit the required clock details.
- Serial Number (Required) - The Serial Number of the clock is the primary key and cannot be changed once entered (only able to be set during new clock creation). If the Serial number is entered incorrectly, then a new clock record needs to be created with the correct value and the other one deleted.
- Time Zone (Required) - Edit the time zone of the location where the clock is installed. Refer to the Localization settings topic.
- Site Name - Edit or Add (if not added) the site name where the clock is installed. The new site is added in the new site screen. Refer to the site restriction on the role screen.
- Description - Edit or Add (if not added) a brief description.
- Fingerprint Support - Check when the clock has a fingerprint reader, else leave it unchecked.

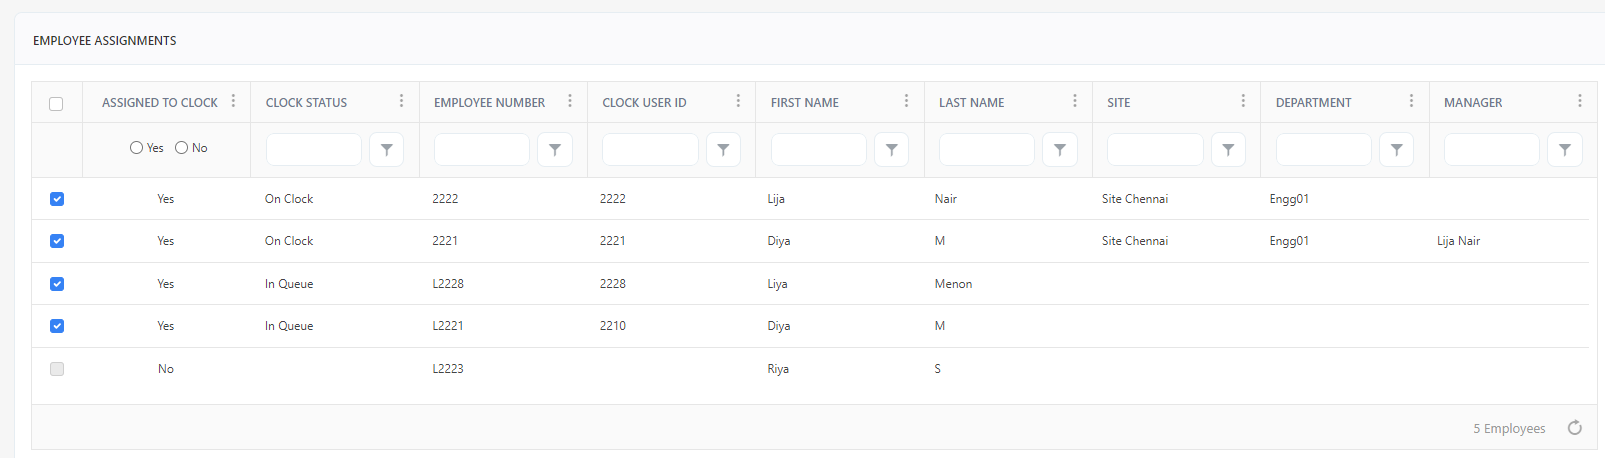
Employee Assignments
- Assigned to clock - Display Yes or No. "Yes" means the clock is assigned to an employee and "No" means that the clock is not assigned to an employee.
- Clock Status - Clock Status is to show if a request to add an employee to a clock has been processed or is still pending. The status would be either "In Queue" or "On Clock". You can view the status on the Edit Employee screen or on the Edit Clock screen.
- Employee Number - Display the employee number.
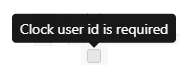
- Clock User ID - Display the clock user ID. Note: The checkbox will be disabled if the clock user ID is not assigned to an employee. The message "Clock User ID is required" will be displayed on hover.
- First Name, Last Name - Display the employee's name.
- Site Name - Display the employee's site name.
- Department - Display the department's name/code.
- Manager - Display the manager's name.
- Filter - Each column on the table has a sorting and a search option. You will see a search text box in each column where you can type and search.
Assign/Unassign Clocks
- To assign employees to a clock, check the checkboxes to select the employees.
- To unassign employees from a clock, uncheck the checkbox.
- Click Save.
Note - The employees are not immediately "assigned to" or "unassigned from" a clock. It is assigned/unassigned only when you click on the save button. Also, note that it is possible to assign a clock to an employee who does not have a user record and who may not actually log into PreciseTime.
Note - A maximum of 10K users can be assigned to a clock. We also highly recommend users use a filter to filter the employees and then use that master checkbox to select the employees matching the current filter criteria.
Fingerprints
To take the employee's fingerprint, they need to be physically present near the clock. Their fingerprints are taken by an authorized employee, like an admin or registrar. Once the clock synchronizes with the application, the fingerprint details are transferred from the clock to the application. You can view these fingerprints on the Edit Employee and Edit Clock screens.
Fingerprints section
- Employee Number - Display the employee's number.
- Display Name - Display the employee's name on the clock.
- Date - Display the date on which the fingerprint was taken.
- Master - When an employee has a fingerprint registered on a clock, that fingerprint becomes the master copy. If the employee has assignments on additional clocks with fingerprint support, that master copy will be used to load the fingerprint pattern to those additional clocks. If a master fingerprint is removed and there is a copy on another clock, that fingerprint will be promoted to the master copy. If a fingerprint no longer works on one clock but works on another, the bad version can be removed, and the good version will be copied over automatically. If the fingerprint is not working on any of the clocks, select all copies of that fingerprint on all clocks and remove them all at once. The fingerprint can then be registered again.
If an employee has multiple fingerprints registered, each one has a master version.
For Example - Employee 1, L-Index and R-Index, Clock A and Clock B:
- L-Index, Clock A = Master
- L-Index, Clock B = Not Master
- R-Index, Clock A = Master
- R-Index, Clock B = Not Master
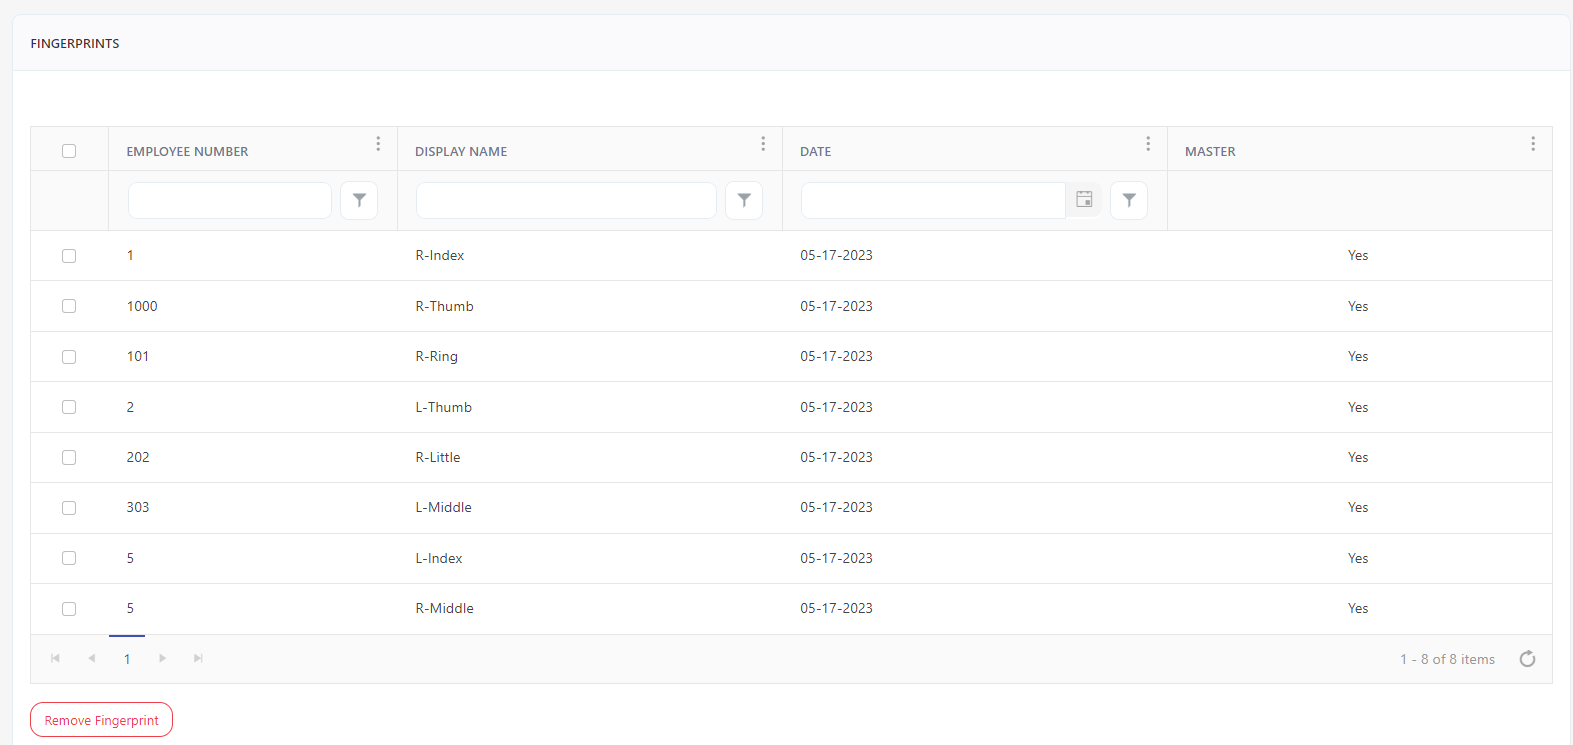
- Remove Fingerprint button - Check the fingerprint and click on the Remove Fingerprint button. If multiple fingerprints are taken for a clock and you delete the "master" fingerprint, then the next fingerprint will become the Master. If all are deleted, there will not be any fingerprints. The fingerprint needs to be registered again on the clock.